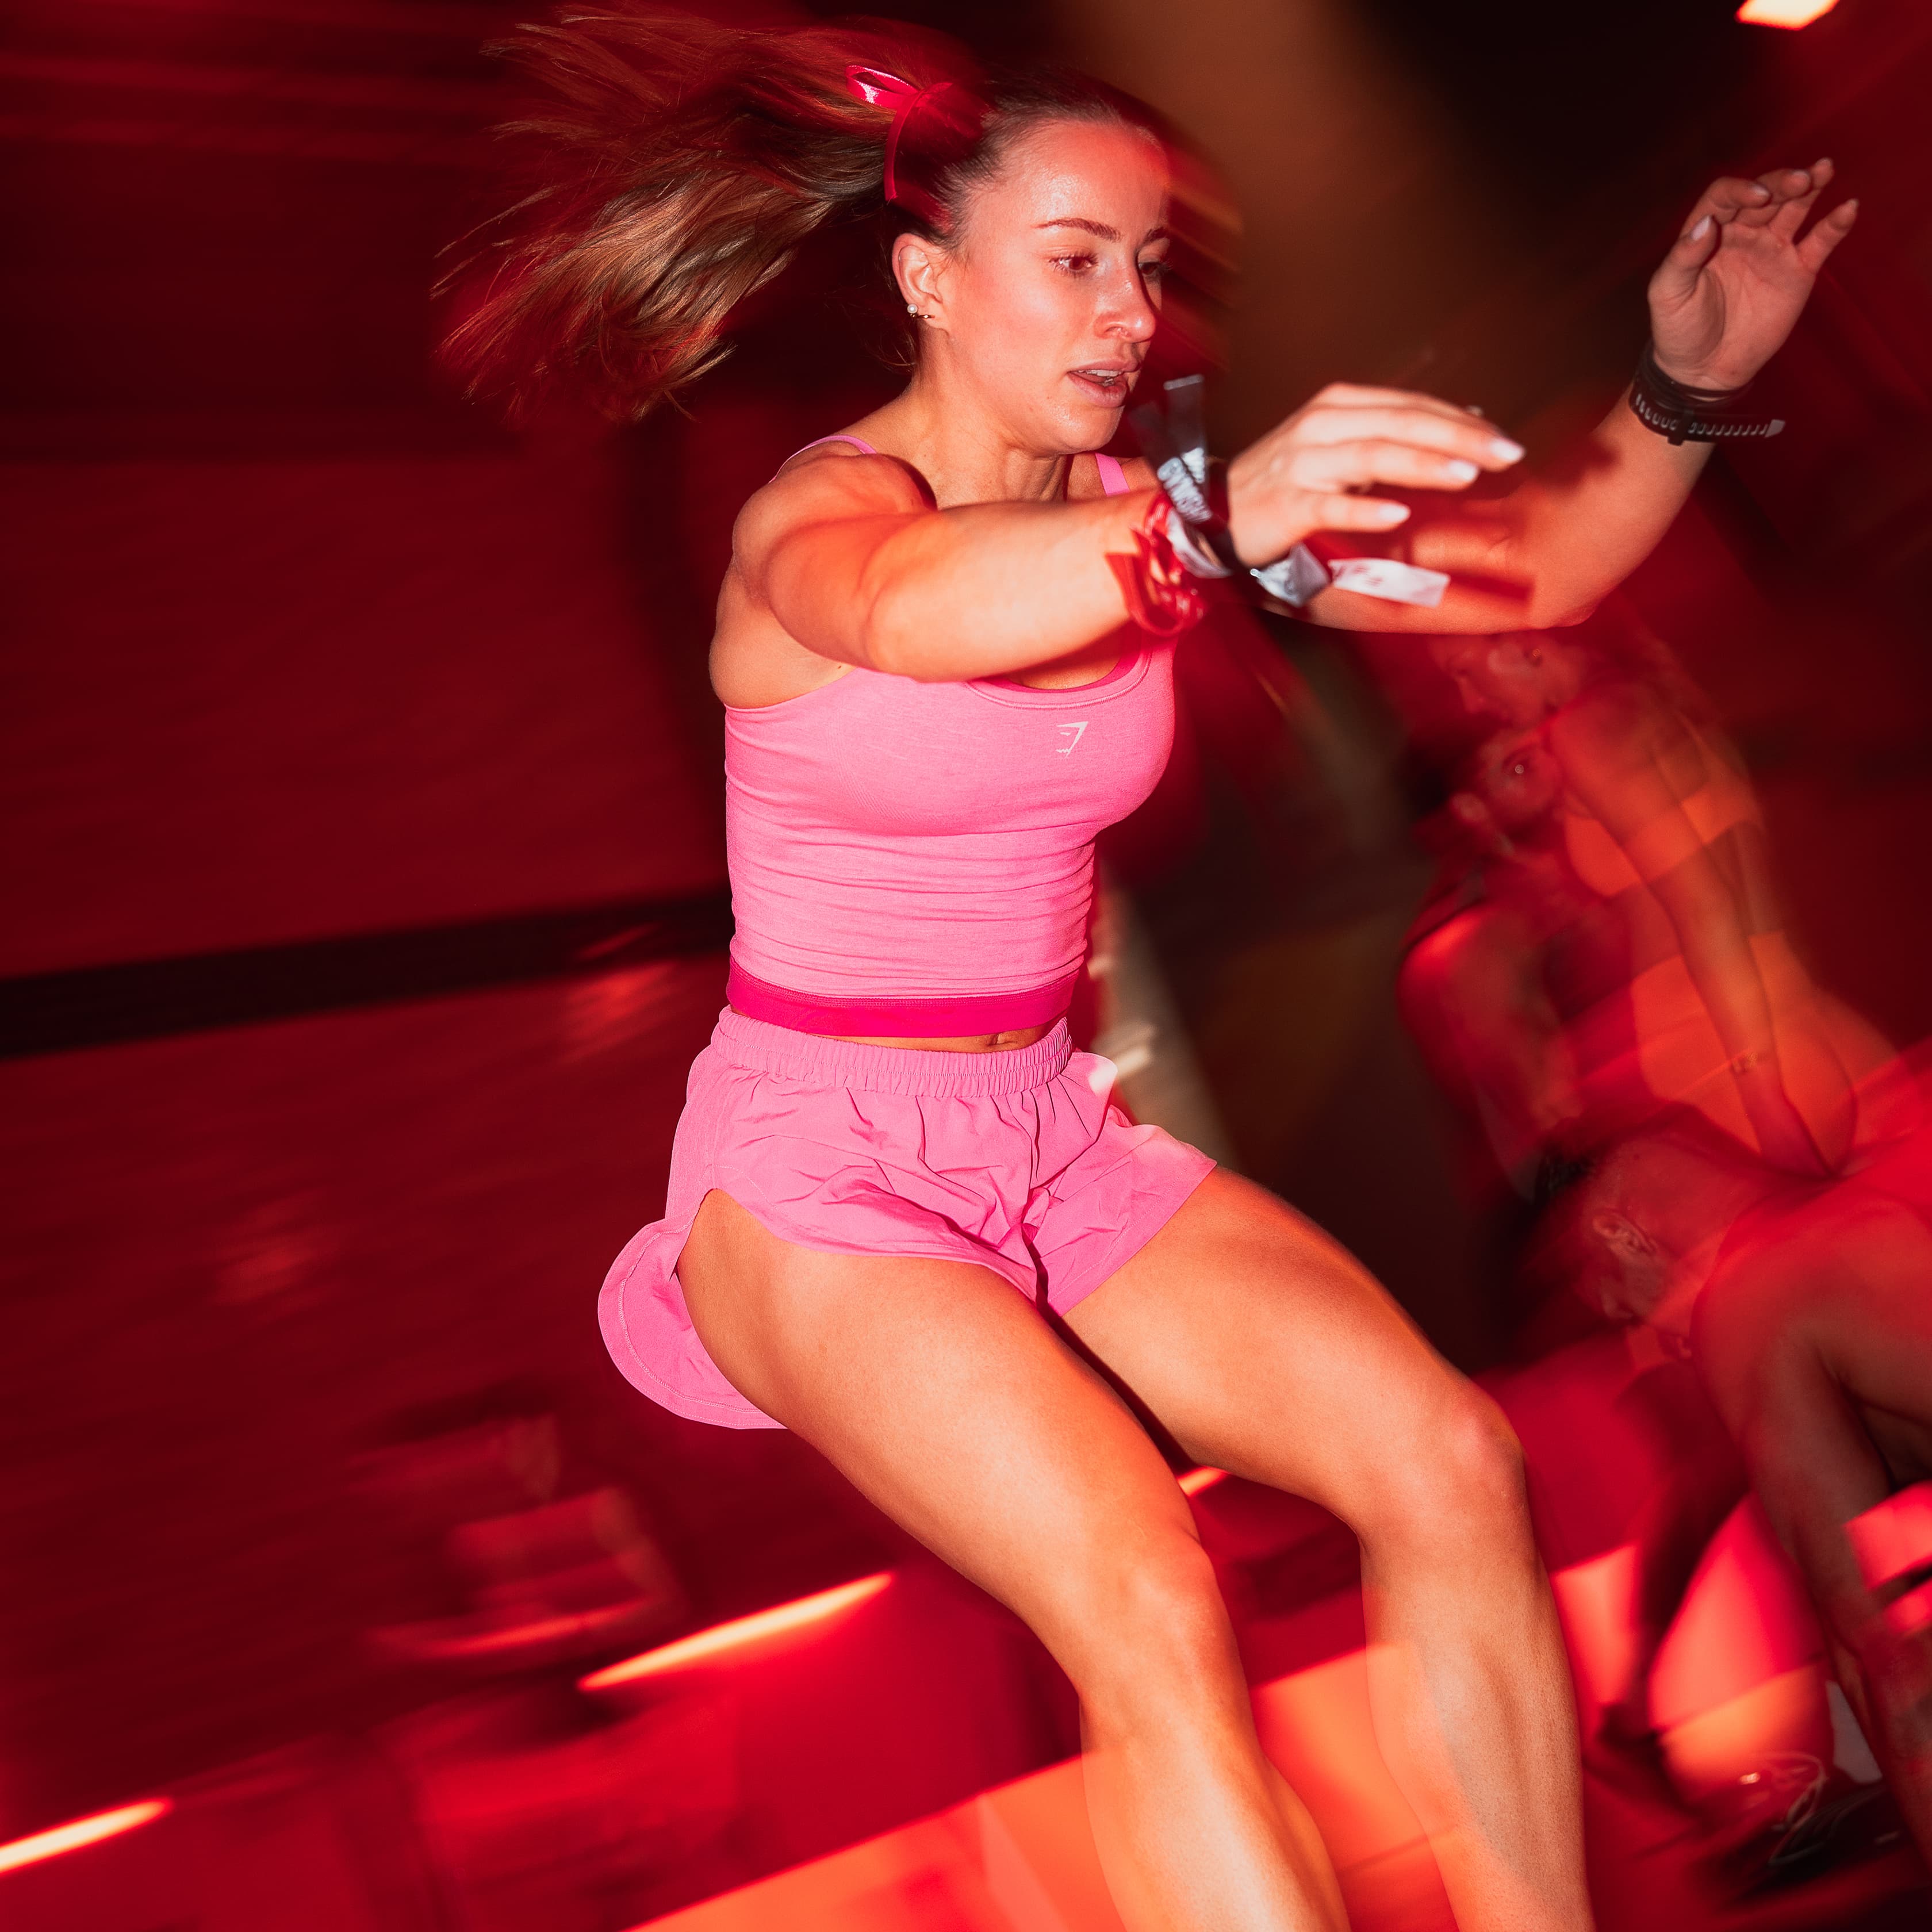


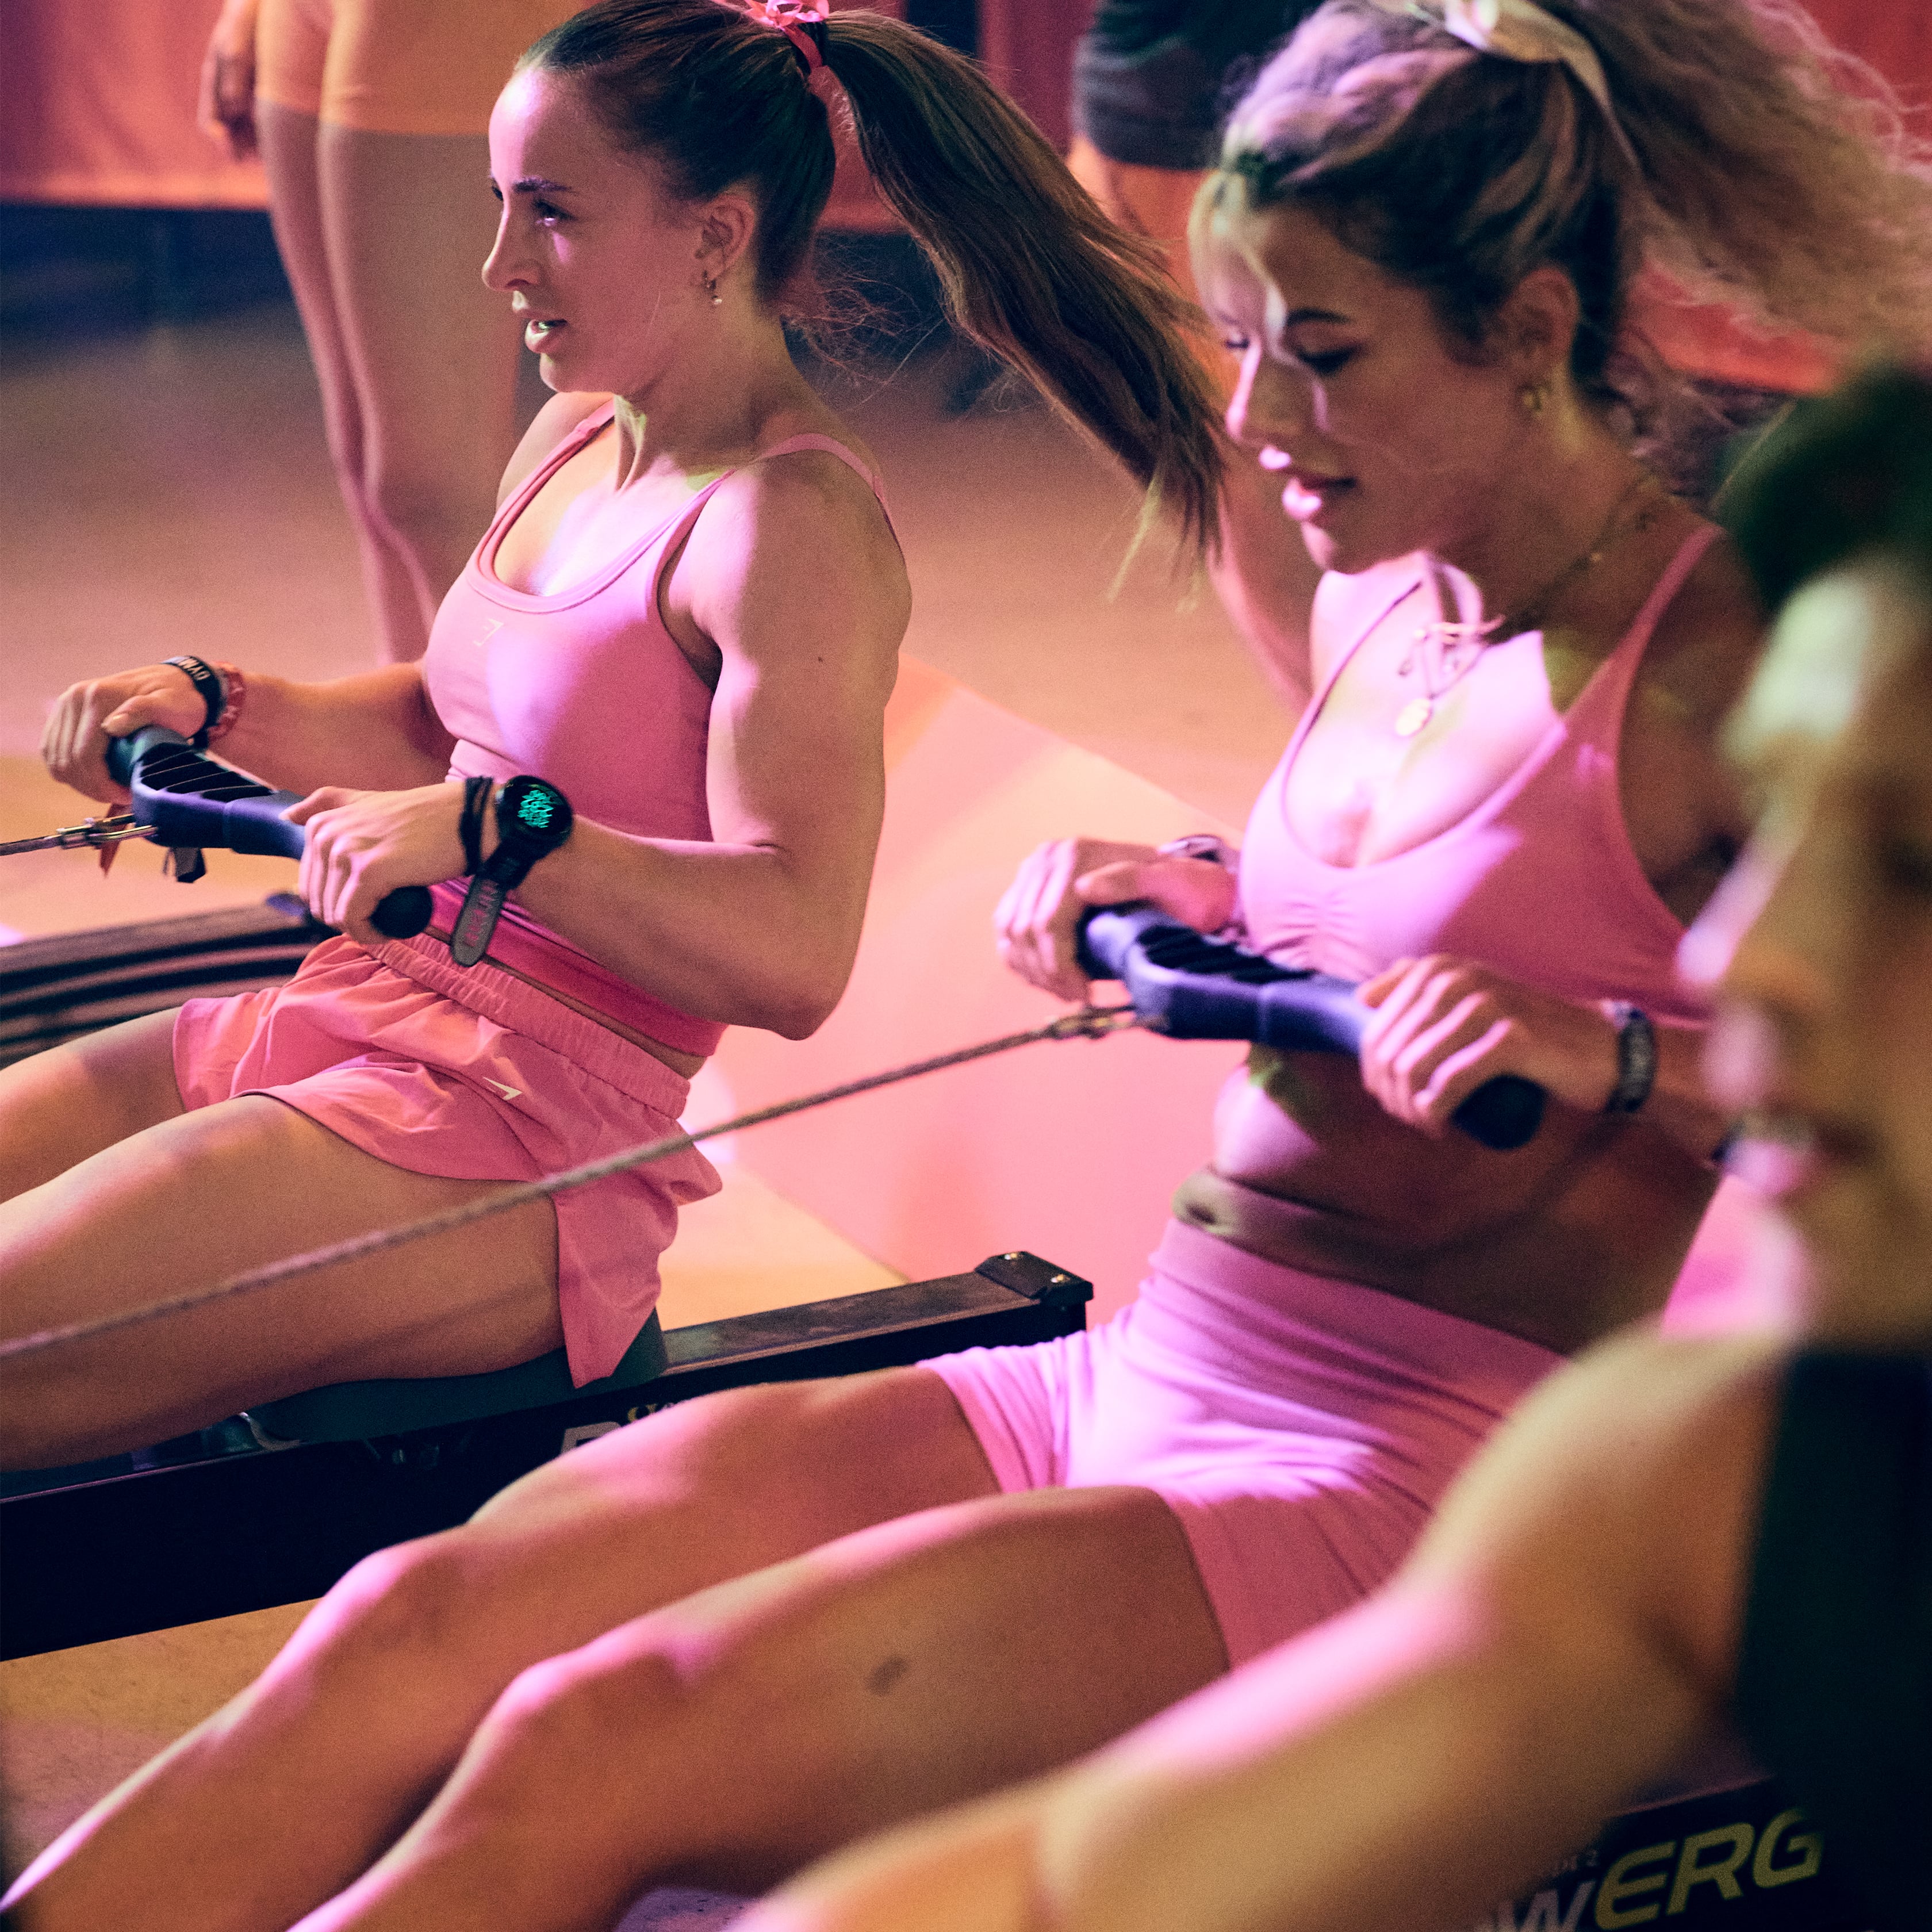
The rowing machine looks simple. Sit down, pull the handle, repeat. Right?
Well, it might feel easy when you first jump on, but after a few minutes, your legs and arms are getting tired… far quicker than you expected. What’s going on? Well, you may be relieved to hear that this isn’t because you’re bad at rowing, it’s because you haven’t nailed the technique down.
Because it’s all about mastering the technique in rowing, specifically the sequencing. Sequencing is the correct order of body movements during the rowing stroke (legs, body, arms), the layback, and the recovery. And believe it or not, it all starts with how you grip the handle.
When you get this sequence right, you maximize how efficiently you use the rower.
Unlike how it may look, rowing is not an arm exercise; similar to the sled pull, it’s a full-body movement that relies on timing, coordination, and control. When those pieces come together, the stroke feels smooth and powerful, rather than rushed and heavy.
A strong row comes from building your grip and posterior chain strength through lifting weights and improving your aerobic ability. This article will guide you through how to use a rowing machine properly, how to improve your technique, and what to focus on if you want to get better at rowing.
How To Use A Rowing Machine
There's a lot more to rowing than simply pulling a handle back and forth. In the sections below, we’ll break the movement down step by step so you can build a strong, consistent rowing technique from the catch to the recovery.
Before You Start: Rowing Machine Setup
Before you start setting speed goals, it’s time to get comfortable with the machine.
Adjust the foot straps so they sit across the widest part of your foot
Sit tall through your hips with a neutral spine
Hold the handle with a relaxed grip rather than squeezing tightly
If the setup feels off, the stroke will feel off. Small adjustments here make a big difference once you start moving.
Rowing Machine Technique | The Rowing Phases Broken Down
The Catch
The catch position is when you’re about to initiate the press and deliver your first stroke:
1. Chest up and tall with a neutral spine, body angled slightly forward from the hips
2. Arms fully extended and relaxed, allowing the upper body to lengthen
3. Shins should be vertical, sliding as far forward as you can without shifting weight into the front of the machine
This is your loaded position. If you collapse through the chest or round your back here, you lose power before the stroke even begins.
The Drive
The drive is where most rowers lose efficiency. When fatigue creeps in, many end up pulling with the arms or open up too early by swinging back, missing out on the strongest part of the drive, which is the power produced from the legs.
The sequence should always be:
Legs initiate the movement, pushing into the footplate.
The torso opens slightly once the legs are nearly extended.
The arms finish the stroke last.
Think of it like a deadlift. You would not lift the bar by swinging your back first; you start by pushing through the legs. The legs create the force, and the rest of the body transfers it. The rowing stroke follows the same biomechanics.
The Layback
In rowing, the layback is the final body position at the end of the drive, when the handle reaches your body, and your torso leans slightly behind your hips.
What it looks like:
Your legs are fully extended
The handle is drawn to the lower ribs
Your elbows move behind the body
Your torso leans slightly back, roughly to an 11 o’clock position
Core stays tight and stable
Leaning too far back is a common mistake. Excessive layback shifts energy downward rather than into the flywheel and places unnecessary strain on the hip flexors. A compact finish is stronger and more sustainable.
The Recovery
The recovery determines the efficiency of the row and sets up the next stroke:
sets up the next stroke.
Arms extend first
Torso hinges forward
Knees bend last
If your knees lift too early, they block the handle path and make the stroke feel awkward. A calm, controlled recovery allows the flywheel to keep moving and your breathing to stabilize.
Summary: Think about pushing the machine away with your legs rather than pulling the handle toward you. Stay connected through the lats and keep the trunk braced so each stroke feels deliberate, not rushed.
How to Improve Your Rowing Technique
Overview 👉
Your speed on the rowing machine isn’t just about pulling harder, it’s about how well you balance four key elements: the amount of force you apply (drive length), how often you're putting that force into the machine (stroke rate), how the machine responds (drag factor), and how you distribute that effort across your body (power ratio). Get these working together, and your stroke starts to feel smoother and more rhythmic.
Drive Length:
Drive length refers to how long you are applying power during the stroke.
The longer you put power into the machine, the more power you can get out of it. But a longer drive length isn’t always better - if you overreach into the front, you can collapse your posture, which can make it harder to get power from your legs. If you finish deep and long at the back, you’re switching all of the power to your forearm and shoulders, and it takes longer to get out of that position and get the handle back to the catch.
Instead, aim for a controlled front position with vertical shins and a tall chest, and a finish where the handle reaches the lower ribs without excessive lean.
The goal is efficient connection, not exaggerated range.
Stroke Rate:
Stroke rate refers to how many strokes you take per minute.
A higher stroke rate means the flywheel has less time to slow down between strokes, so it requires less force to accelerate again. Because of this, higher rates can feel lighter per stroke. However, when you increase stroke rate, your body has to cycle through the drive and recovery phases more frequently. That means your muscles activate more often and your cardiovascular system works harder to support the effort.
When you increase the stroke rate, you increase the toll on the body even though strokes feel easier [2]. Technique can deteriorate as fatigue builds; this is why many athletes become less efficient when they rush the stroke. They take more strokes to maintain the same pace and expend more energy doing it.
For most Hyrox athletes, a controlled stroke rate (around 22 to 26 strokes per minute) tends to balance efficiency and sustainable output.
Drag Factor:
The lever on the side of the machine adjusts the drag factor, which controls how quickly the flywheel slows down between strokes.
Higher settings make the stroke feel heavier because the flywheel decelerates faster, which can make it harder to pick up the pace again. This can quickly fatigue the legs and posterior chain. Lower drag settings feel lighter and allow the flywheel to keep spinning longer between strokes, but it’s harder to put power in.
Importantly, drag factor does not directly determine your pace. Pace comes from how much force you apply and how frequently you apply it.
If two athletes produce the same force at the same stroke rate, they will move at the same speed regardless of the drag setting. The difference is simply how the stroke feels.
Power Ratio:
Rowing in the gym is one thing, but rowing under fatigue is another. You’ll learn how to use the RowErg properly, how to set it up, and how to row perfectly, but on race day, you’re no longer a purist rower. 60% legs, 30% back, 10% arms is optimal, but when you’ve just run 4km and a round of 80m burpees, your form might slip, and that’s expected.
Adjust your power ratio changes based on how you’re feeling. For example, if you want to ease off the legs to recover, put more emphasis on your back swing, and readjust the ratio to 50% back, 40% legs, 10% arms. We’re talking about rowing efficiency or getting an easier ride on your legs. Explore what adjustments work for you in training ahead of the race.
What Muscles Does Rowing Work?
Rowing is a full-body movement. It only looks and feels like an arm exercise if you misunderstand where the power actually comes from. From the outside, all you see is a handle moving back and forth. From the seat, the work starts much lower.
Key Muscle Groups Worked:
Legs (approx. 60% of effort): Quads (drive), hamstrings, and calves.
Back: Latissimus dorsi, rhomboids, and traps (upper back).
Core: Abdominals and obliques provide stabilization.
Arms & Shoulders: Biceps, triceps, and deltoids (shoulders).
Glutes: Extend the hip during the drive phase.
Phases and Muscle Engagement
Catch: Quads, triceps, and abdominals.
Drive: Legs (quads/glutes) power the move, followed by lats and back.
Finish: Biceps and back pull the handle, while core/abs stabilize.

Why The Core Matters More Than You Think When You’re Rowing
Think of it this way: the legs create the power that drives the row, and the handle is simply where that power ends up. Your trunk sits in between, acting as the bridge that transfers force from one end to the other. If that bridge isn’t stable, the energy you generate never fully reaches the flywheel.
If you’ve ever watched a Hyrox race, you’ll be able to tell when a rower involves their core correctly. If their chest collapses at the catch, ribs flare at the finish, or the hips shoot open too early, we know energy is leaking somewhere. The legs might be strong enough to produce force, but without a stable midline, that force isn’t transferred efficiently, and the stroke loses its impact.
In a Hyrox race, as an example, this matters even more because you are not getting on the rower fresh. You arrive after sleds, carries, and burpees. Your breathing is elevated, and your trunk has already been working hard to stabilise under load. As fatigue builds, posture starts to drift. The chest drops slightly. The lean back becomes exaggerated. The stroke shortens without you realising.
When that happens, output falls even if effort feels high.
A strong, well-trained core keeps the sequencing clean when the rest of the body is under stress. It allows the legs to drive properly and the lats to connect, so each stroke stays powerful rather than frantic.
Why Many Struggle With The Row & What You Can Do Differently
“My legs are burning too quickly.”
For beginners, this usually comes down to using the legs inefficiently or rushing the stroke. For Hyrox athletes, it’s often the result of arriving at the row already fatigued from rounds of burpees, sleds, and lunges.
It can be easy to fatigue in rowing if you treat it as an explosive movement rather than a steady and repetitive one.
Adjustment strategy:
Slightly lower your stroke rate
Emphasise deliberate leg drive and control
Give yourself the first 150 to 200m to settle into a rhythm without rushing it
Avoid shortening your stroke in an attempt to move faster. That often increases effort without increasing speed.
“My heart rate spikes and won’t settle.”
If your heart rate climbs quickly and stays high, it’s usually a pacing issue rather than a fitness issue.
Beginners often start too hard because the stroke feels manageable at first. Hyrox athletes often do the same, trying to make up time early in the row. This commonly results in an accumulating fatigue that is difficult to recover from, whether that’s for your next 1km run or the next part of your workout.
Study callout: Studies on endurance pacing strategies show that athletes who distribute effort evenly or build slightly toward the end tend to perform better overall [4].
If you’re training for the Hyrox 1000m row with a negative split so you can control the effort and your recovery:
Example:
First 200m: settle into a split
Middle 600m: controlled aerobic effort
Final 200m: gradual build if breathing is stable
If your breathing cannot calm down during the middle section, the opening pace was likely too aggressive. Test a negative split strategy out and dial it back if you can’t recover.
“My grip fades halfway through.”
If this is happening, you’re probably squeezing the handle a little too hard. To prolong your grip, let your fingers soften slightly into a relaxed hook grip rather than a tense hold.
Focus on driving through the legs so the hands aren’t doing unnecessary work, and soften your fingers on the recovery, rather than clenching continuously. If the order of the rowing sequence is correct, you’ll find you won’t feel the need to over-grip.
“I don’t know what pace or split to aim for.”
If you’re new to rowing, don’t worry about hitting a specific split straight away. Focus on consistency, control, and maintaining good technique. As you become more comfortable, you can start to track your pace and aim for steady improvements.
If you’re training for Hyrox, your target split should reflect your overall race strategy.
Typical Open division ranges:
Open Women: approximately 2:05 to 2:25 per 500m
Open Men: approximately 1:45 to 2:05 per 500m
Stronger runners may choose to row slightly conservatively to protect the next kilometre, while others with a comparatively weaker run sometimes push the row harder to gain ground.
Your row split should support what comes next, not compromise it.
How To Get Better at Rowing for Hyrox
1. Build Aerobic Row Capacity
Before you think about speed, you need to row comfortably at race intensity. If you’ve been averaging 5-minute 1000m rows, you need to get familiar with how this feels. Structure sessions of higher volume rowing at your projected race pace, and longer sessions to build your aerobic capacity. For example:
2 × 1,000m at projected race pace
4 × 500m with one minute rest
5km steady aerobic rows
You want to get to a place where race pace no longer feels foreign, and the monitor’s numbers don’t send you into a panic. Rowing is an exceptionally effective full-body workout for improving aerobic capacity (VO2 max), so over time, you will notice your breathing improves, and you become stronger in places you didn’t even know you were weak in. This is because of the high-intensity nature of rowing, and because it engages nearly 80-85% of the body’s muscles [1].
2. Train Rowing Under Fatigue
Hyrox does not give you the luxury of rowing fresh, so your preparation should reflect that.
Challenge yourself to:
80m Burpee Broad Jumps straight into 1,000m Row
A heavy leg session followed by a 1km row finisher
Sled push directly into 500m row repeats
The row feels completely different when your quads are already burning, and your breathing is elevated. The first few strokes may feel clumsy, and that is precisely why you need to practise them.
You’ve probably trained to failure, but this method asks you to keep going through fatigue, learning to find a rhythm and remain stable even when you’re feeling the discomfort.
3. Improve Stroke Efficiency
Efficiency is what keeps the row aerobic rather than chaotic. If you move faster, your strokes can become weaker and shorter. Lowering the stroke rate slightly keeps it more sustainable in a hyrox setting.
Aim for:
A stroke rate between 22 and 26 strokes per minute
Higher watts per stroke instead of chasing cadence
Regularly check your form through filming and ensure you’re engaging the legs and back correctly, because when the lats connect, each stroke does more work with less visible effort (cheat code!).
4. Strengthen Grip & Posterior Chain
If you want your rowing stroke to hold together under fatigue, you need more than conditioning. You need strength that transfers to sequencing.
The rowing drive is essentially a horizontal deadlift. The legs push, the hips extend, the torso stays braced, and the lats connect the upper body to the handle. Strength work that trains each step of the chain makes your stroke more efficient without you having to think about it.
Exercises that reinforce leg-to-hip power transfer include:
Deadlifts and cleans are particularly useful because they teach you to produce force through the floor and extend through the hips without overusing the lower back. That pattern closely mirrors the rowing drive. When this sequencing becomes automatic in the gym, you can rely on it showing up even under fatigue on race day.
Core strength is just as important.
When your trunk fatigues, posture shifts. The chest drops at the catch. The lean at the finish becomes exaggerated. The stroke shortens, and power output falls, even though effort feels high.
To build trunk endurance that holds under pressure, incorporate:
Plank variations
Dead bugs
Loaded carries
These movements train your ability to resist extension and rotation, which is exactly what you need on the rower. The goal is not just a strong core in isolation, but a core that can stabilise while the legs and hips are working hard.
4 Rowing Workouts For The Gym & Hyrox Prep
1. Steady State Row
You’ve heard of LISS treadmill workouts, but have you ever thought of hopping on the rowing machine for your steady state?
A steady-state row workout is a continuous, moderate-intensity session (60–70% max heart rate) lasting 20–60+ minutes, designed to build aerobic capacity, endurance, and technical efficiency. The low stroke rate should be relatively low (18–22 SPM), and your breathing will be elevated and controlled. Not quite holding a full conversation, but not gasping either.
The workout:
5-10 minute warm-up: dynamic warm-up and light, slow rowing
20 minutes of continuous rowing
Pace: steady, controlled, sustainable
If your form begins to slip or pace creeps up, you’ve likely gone too hard. The focus isn’t about speed here; it’s about keeping moving and building your endurance.
2. HIIT Rowing Workout
HIIT rowing workouts combine short bursts of maximal effort (20–60 seconds) with brief rest or light rowing (10–60 seconds), typically lasting 20-30 minutes for a full-body cardio burn.
The workout:
5-10 minute warm-up: dynamic warm-up and light, slow rowing
8 × 250m row (max effort)
Rest or light row: 60 seconds between efforts
This session is about short, sharp efforts that get your heart rate up and build both power and conditioning.
Each 250m should feel challenging but repeatable. You’re pushing yourself, but not to the point where you feel like you couldn’t keep it up for 7 more rounds.
3. Hyrox Race Flow Simulation
The workout:
1km treadmill run
80m Burpee Broad Jumps
1,000m row
1km treadmill run
Repeat twice.
This session teaches you how to manage pacing when your heart rate is already elevated. It exposes whether you are overcommitting early on the row and helps you practise pacing before the next kilometre.
Focus on keeping your second round consistent with the first, rather than dramatically slower.
4. Hyrox Station-to-Run Conditioning
The workout:
4 × 500m row at race pace
20 wall balls immediately after each effort
This workout stimulates the demands of the station-to-run transition, and
You move from cyclical power into a functional strength station that demands breathing control and coordination. If your row pacing is too aggressive, it will show up quickly in your wall balls. If your pacing is measured, you will feel stable and organised rather than rushed.
These sessions reinforce the same lesson: the row is not about proving how hard you can pull. It is about setting yourself up to move well in what comes next.
Example workout block:
1km run
80m Burpee Broad Jumps
1,000m row
1km run
Repeat x2
Or:
4 x 500m row at race pace
20 wall balls after each
Purpose: simulate station-to-run transition.
Taking on a Hyrox alone, and worried about the row? We’ve got you covered.
When you are racing solo, there is no rotation and no shared workload. There’s no room for ego rowing; this station needs to be approached with a clear plan.
First 200m: Use this portion to settle in rather than race ahead. Get your feet strapped in smoothly, take two or three controlled strokes to find your rhythm, and bring the split to where you planned it to be. It can be tempting to respond to the athlete next to you, especially if they go out fast. Let them. Your focus should be control: a strong leg drive, controlled recovery, and breathing that doesn’t spike excessively.
Middle 600m: This is where you need to dig deep and find that inner discipline. The effort should feel sustainable enough to keep up until the end, and you should be able to maintain consistent leg rhythm and steady breathing. If your form begins to slip or your grip tightens unnecessarily, slow down slightly and re-establish sequencing.
Final 200m: Only speed up if your heart rate is under control, and your posture still feels solid. There’s no need to turn it into a sprint, though, unless you’re confident you can run well immediately after. A reckless push here can cost you far more on the run than it gains on the row.
FAQs
Is rowing the easiest Hyrox station?
For some athletes, it feels less technically intimidating than sleds or wall balls. However, poor pacing can quietly disrupt the remainder of the race. Its difficulty is often underestimated.
What resistance is the row machine set to at Hyrox?
Most events use a moderate damper setting around 5 to 6 on the RowErg, and this is consistent across all divisions regardless of gender.
What can affect how a row feels, though, is the drag factor, which can vary slightly depending on the machine and environment. Two machines set to the same number won’t always feel identical, as you’ll often find out when you switch gyms or train on holiday.
In training, it’s worth getting comfortable rowing within this mid-range setting (5-6) so race day doesn’t feel unfamiliar, while also understanding how small changes in drag affect how quickly the flywheel slows down and how much force you need to apply each stroke.
What is a good 1,000m row time in Hyrox?
Competitive Open athletes commonly complete a 1,000m row in:
Women: approximately 4:10 to 4:40
Men: approximately 3:20 to 3:50
The best time for you is the one that allows you to maintain pace on the next run.
How should shorter or taller athletes adjust their rowing technique?
Shorter athletes may rely on slightly higher stroke rates while maintaining full leg drive. Taller athletes should use stroke length without over-leaning at the finish. Efficiency and control matter more than height.
Why do I feel rowing most in my arms?
The idea that rowing is arm-dominant usually comes from watching fatigued athletes pull too early. When someone bends their elbows before driving through their legs, the stroke turns into a bicep curl with a seat attached.
But biomechanically, that’s inefficient.
Around 60 percent of the force in a proper rowing stroke should come from the legs [3]. It all happens very quicky but essentially: the glutes and quads initiate the drive, then the hamstrings and posterior chain support hip extension. The lats connect the upper body to the lower body, transferring force into the handle.
Your arms are the final link in the chain. They guide the power that has already been generated. They are not the engine that powers up the movement.
If your biceps are the thing that feels most fatigued after a row, it is usually a sequencing issue.
References:
[1] Temraz, A.F.A., et al., 2022. The effectiveness of using a rowing machine for developing aerobic capacity and technical skills in rowing. International Scientific Journal of Physical Education and Sport Sciences (ISJPES), January 2022. Available at: https://isjpes.journals.ekb.eg/article_208970_0c5310a2a37de68d092fc270d12e9e8c.pdf
[2] Baudouin, A. and Hawkins, D., 2002. Investigation of biomechanical factors affecting rowing performance. Journal of Biomechanics, 35(3), pp.303–312. https://pubmed.ncbi.nlm.nih.gov/15165867/
[3] Steinacker, J.M., 1993. Physiological aspects of training in rowing. International Journal of Sports Medicine, 14(S1), pp.S3–S10. https://pubmed.ncbi.nlm.nih.gov/8262704/
[4] Abbiss, C.R. and Laursen, P.B., 2008. Describing and understanding pacing strategies during athletic competition. Sports Medicine, 38(3), pp.239–252. https://pubmed.ncbi.nlm.nih.gov/18278984/